
Immediate Life-Safety Protocol: Finding Your Main Shut-Off Before Disaster
Locating and testing your home's main water shut-off valve before an emergency occurs is the single most effective plumbing safety precaution any homeowner can take. During a catastrophic burst pipe, ruptured washing machine hose, or fractured water heater tank, pressurized municipal water floods your home at rates of eight to fifteen gallons per minute under 50 to 80 PSI. Searching through dark basements, cluttered crawl spaces, or packed utility closets while hundreds of gallons of water cascade through ceilings can cost ten to twenty precious minutes, resulting in tens of thousands of dollars in ruined hardwood floors, collapsed drywall, and structural mold contamination. Knowing the exact mechanical location of your primary domestic shut-off valve—and verifying that it turns smoothly and seats completely—allows you to halt water egress within sixty seconds of discovering a leak.
Typical Shut-Off Locations in South Suburban Basements
In the overwhelming majority of South Suburban homes featuring full or partial basements—such as 1920s through 1970s residences in Flossmoor, Homewood, and Olympia Fields—the main water shut-off valve is located along the street-facing perimeter foundation wall. Municipal water mains run beneath the roadway in front of your home, and an underground copper or lead service lateral travels beneath your front lawn, entering through the concrete or masonry foundation wall approximately one to three feet above the basement floor slab. Look for the brass municipal water meter, which measures domestic consumption. In standard code-compliant plumbing installations, two shut-off valves are installed: one on the street side of the water meter (the curb-side valve) and one on the house side of the meter (the customer shut-off valve). Either valve will stop water, but homeowners should always operate the house-side valve first. Look for the heavy copper bonding jumper wire clamped across the water meter; this conductor ensures that your home's electrical grounding system maintains continuous continuity even when the water meter is removed for utility maintenance.

Locating Shut-Offs in Slab-on-Grade Homes (Park Forest & Tinley Park)
Homes constructed on poured concrete slabs without basements—such as the historic 1948 postwar Philip Klutznick ranches in Park Forest or 1970s patio homes in Tinley Park—feature distinctly different plumbing layout configurations. Because there is no basement level, underground water services enter directly through the concrete foundation slab. The main water shut-off valve and water meter are almost universally located inside an interior ground-floor mechanical closet, laundry room, or utility room, typically positioned directly adjacent to the water heater or central furnace. In some mid-century slab floor plans, the main shut-off is concealed inside a lower kitchen cabinet next to the sink or behind a small drywall access panel near the front entryway. Inspect the concrete floor inside utility closets for a copper pipe rising vertically through the slab with an inline valve. In slab-on-grade homes, distribution pipes frequently travel beneath the structural concrete slab inside protective PVC conduits. The primary shut-off isolates both the cold water manifold and the line feeding the central water heater.
Crawl Space Shut-Off Valve Configurations & Access Challenges
For residences built over unheated crawl spaces—common in portions of Country Club Hills, Hazel Crest, and unincorporated Cook County—locating the main shut-off valve can present unique physical access challenges. In older crawl space designs, the water service pipe penetrates the crawl space ground level near the front foundation wall, where the shut-off valve was installed alongside the water meter. Reaching this valve during a freezing winter pipe emergency requires opening an exterior ground hatch or interior floor access panel and crawling across damp soil in darkness. If your home has a crawl space shut-off that is difficult or hazardous to access, professional plumbers strongly recommend extending the incoming copper line upward into an accessible first-floor utility closet or heated living area, installing a modern quarter-turn ball valve that can be shut off in seconds.
Gate Valves vs. Quarter-Turn Ball Valves: Mechanical Differences & Risks
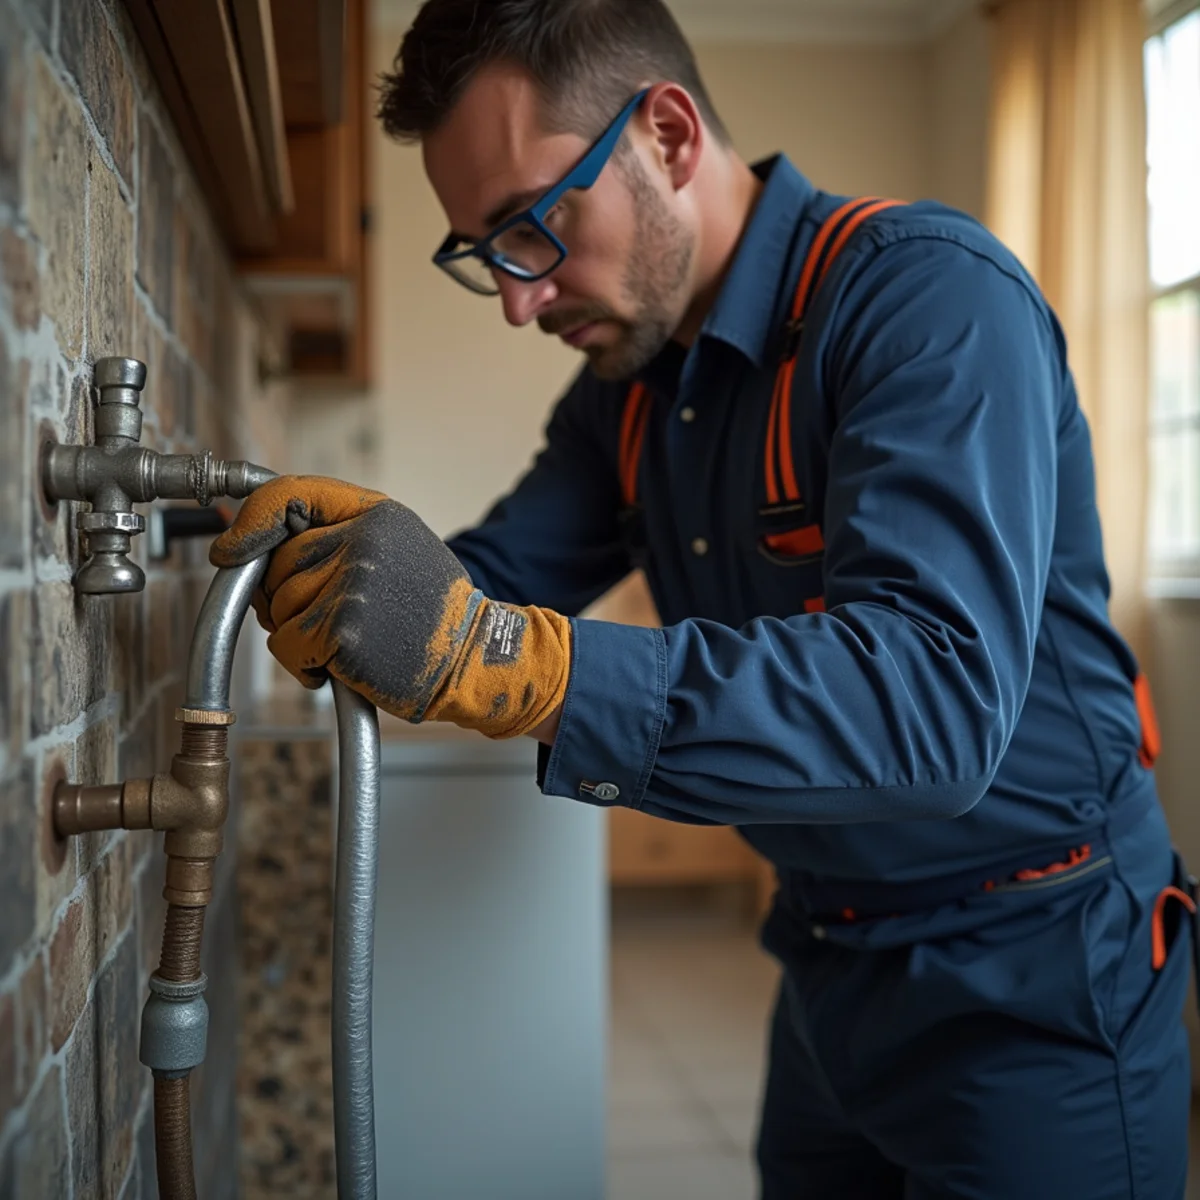
The physical design of your main water shut-off valve determines its mechanical reliability during an emergency. Older residences constructed prior to the 1990s typically feature brass gate valves, easily identified by their round, wheel-shaped handles. Inside a gate valve, turning the wheel clockwise lowers a solid brass brass wedge (gate) downward into a narrow brass seat to stop water flow. Over decades of contact with mineral-rich South Suburban water, internal gate valve stems corrode, calcify with mineral scaling, or seize completely. When an emergency strikes, attempting to force a corroded gate valve wheel can snap the brass stem, leaving the internal gate stuck open—or worse, snapping the valve body and causing an uncontrollable flood. Modern installations utilize full-port brass ball valves with a straight lever handle. A simple quarter-turn (90 degrees) rotates an internal polished stainless steel or chrome-plated brass ball with a bored center hole, providing instantaneous, 100% watertight shut-off with zero mechanical seizing. High-quality forged brass ball valves feature PTFE (Teflon) stem packing and blowout-proof valve stems, guaranteeing that the valve can be operated smoothly fifty years after installation without leaking at the packing nut.
How to Test and Exercise an Older Gate Valve Safely Without Snapping It
If your home is currently equipped with an older wheel-handled gate valve, testing its operational integrity must be done with extreme care during regular business hours—never late on a Sunday night when emergency plumbing dispatch is required if the stem fails. To test the valve, turn the wheel clockwise slowly using hand pressure only; never use a pipe wrench, pliers, or hammer to force a stubborn wheel. If the wheel resists, apply a few drops of penetrating oil around the packing nut stem, wait twenty minutes, and gently wiggle the wheel back and forth in tiny quarter-inch increments to work through mineral crust. Once turned fully clockwise, open a nearby sink faucet to verify whether water has completely stopped. If water continues to trickle or flow freely, the internal brass gate has eroded or failed to seat, indicating that the valve is mechanically compromised and must be replaced.
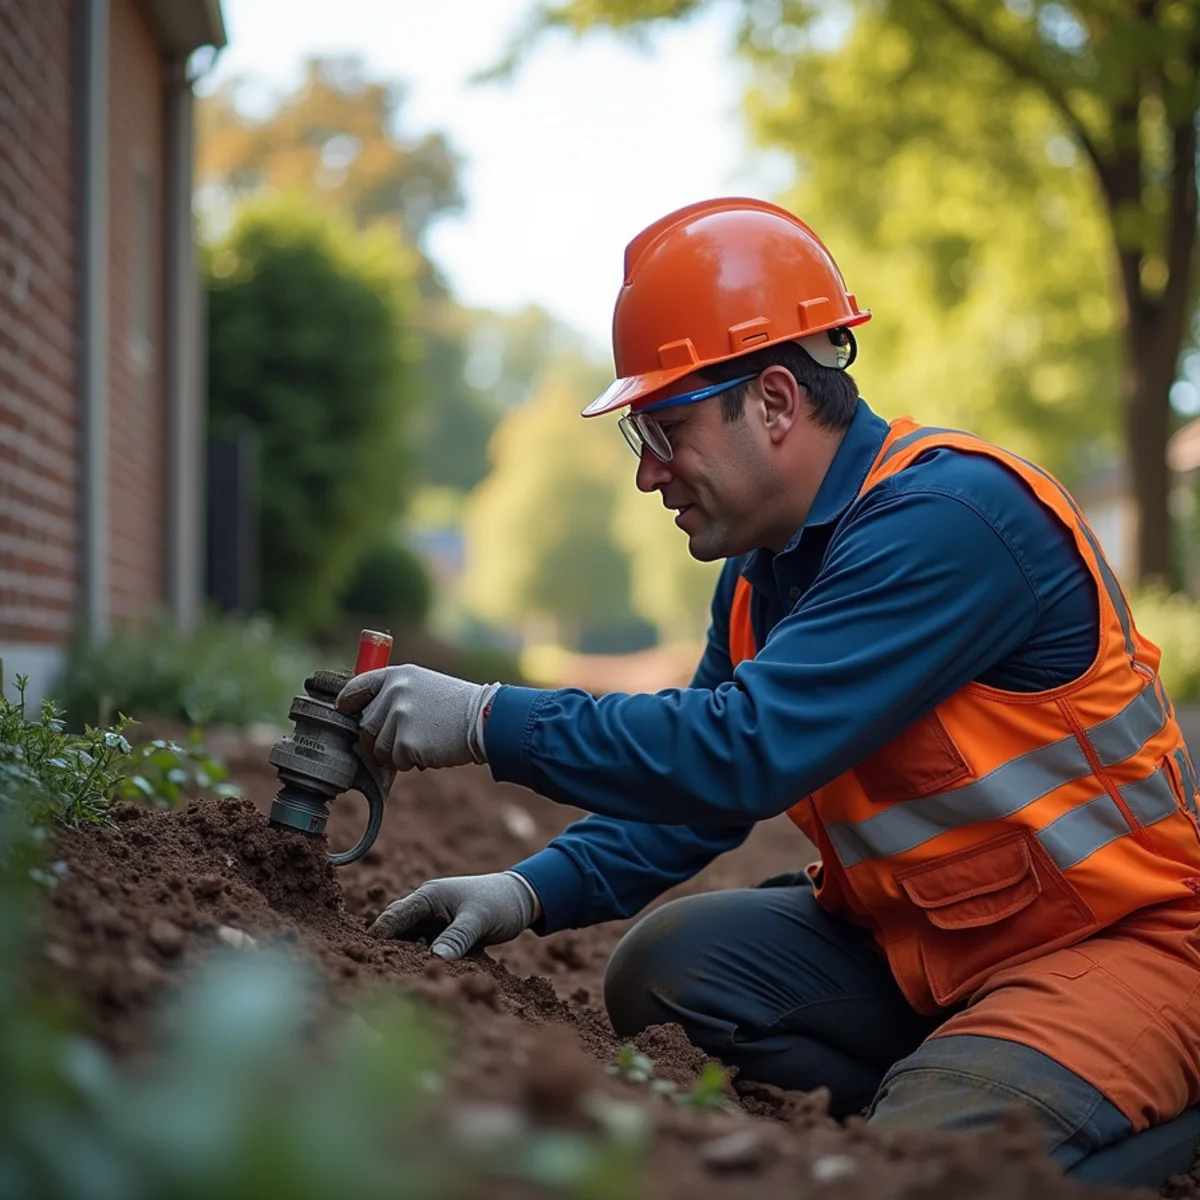
Exterior Municipal Curb Stops (The Street Buffalo Box / B-Box)
If your interior main shut-off valve seizes, snaps, or fails to stop water during an active indoor pipe burst, your secondary emergency defense is the exterior municipal curb stop, commonly known throughout Illinois as the Buffalo Box or B-Box. The Buffalo Box is an underground commercial brass valve located along your property boundary or front parkway lawn, typically housed inside a vertical cast iron pipe that terminates at ground level with a round, threaded cast iron lid approximately four inches in diameter. The B-Box connects your private underground water service lateral to the municipal water main beneath the street. Because it is buried four to five feet below grade beneath the regional frost line, operating a curb stop requires a specialized long-handled steel tool known as a curb key or Buffalo box wrench. If the Buffalo box cover in your front lawn has become buried beneath topsoil or overgrown with turf, a metal detector or magnetic locator will pinpoint the round cast iron lid quickly before deep digging is required.
Emergency Shut-Off Tools: Buffalo Box Keys & Adjustable Pipe Wrenches
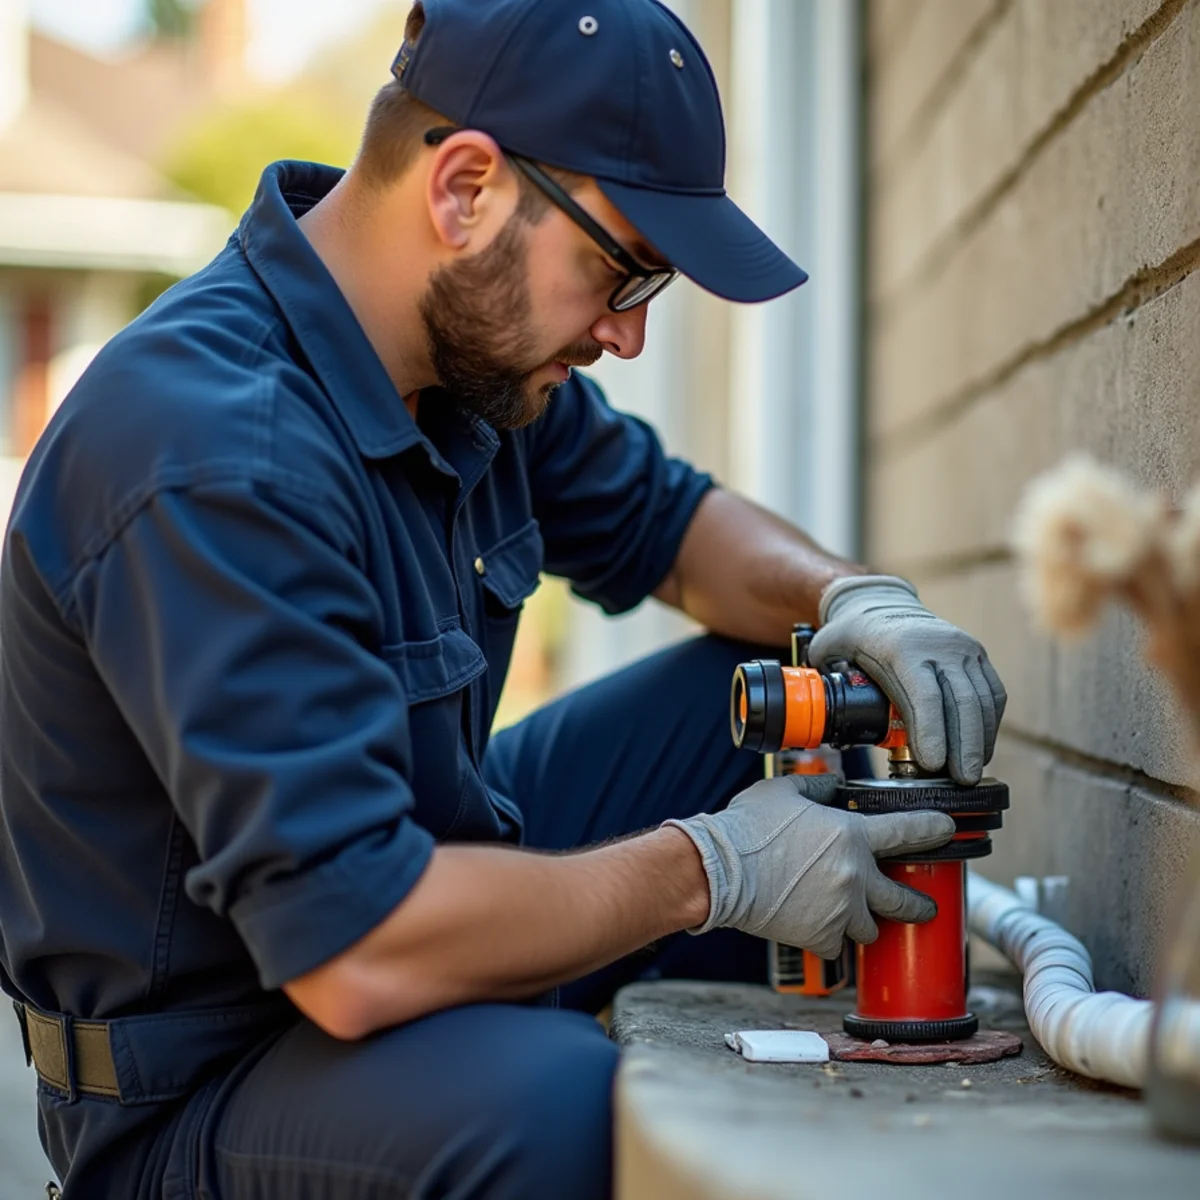
Every prepared homeowner should maintain basic emergency plumbing tools in an easily accessible location. If you must operate an exterior Buffalo box, a standard five-foot steel curb key features a slotted bottom end that slips over the underground valve rod lug and a wide cross-handle at the top for rotational leverage. Once the key engages the underground lug, rotating the cross-handle clockwise ninety degrees shuts off the municipal water supply before it enters your property line. If you are operating an interior valve that is stiff, keeping a ten-inch smooth-jaw adjustable wrench and a bright LED headlamp hung directly beside your water meter ensures you never waste time hunting for tools while water is rising.
Upgrading to a Full-Port Brass Ball Valve & Main PRV
Replacing an outdated, seized gate valve with a modern full-port brass ball valve is one of the highest-return preventative plumbing investments you can make. During a scheduled service appointment, a licensed plumbing contractor coordinates with your local municipal public works department to temporarily shut off water at the street Buffalo box. The plumber cuts out the old gate valve and solders or presses in a heavy-duty, lead-free full-port forged brass ball valve rated for 600 WOG (water, oil, gas) with Teflon seats and a stainless steel ball. At the same time, the plumber can test incoming municipal water pressure and install an adjustable Pressure Reducing Valve (PRV) if municipal pressure exceeds 80 PSI, protecting your domestic appliances, water heaters, and toilet valves from premature pressure failures. When installing a Pressure Reducing Valve (PRV) alongside a new main ball valve, plumbers install a downstream pressure gauge to verify that household water pressure remains calibrated to a safe 50 to 65 PSI.
Educating Family Members & Labeling Emergency Plumbing Controls
A functioning emergency shut-off valve is useless if household occupants do not know where it is or how to operate it when a leak occurs while you are away from home. Take twenty minutes this weekend to walk every family member, teenager, and house-sitter down to the water meter location. Affix a bright, weather-resistant plastic emergency tag to the main valve handle clearly marked 'MAIN WATER SHUT-OFF: TURN TO STOP WATER.' Demonstrate the exact mechanical operation—turning a ball valve lever perpendicular to the pipe, or turning a gate valve clockwise until tight. Ensure the pathway to the water meter is permanently cleared of storage boxes, furniture, and clutter so that anyone can reach the valve within seconds in complete darkness.